
Let’s go azure portal to create the blob storage account.
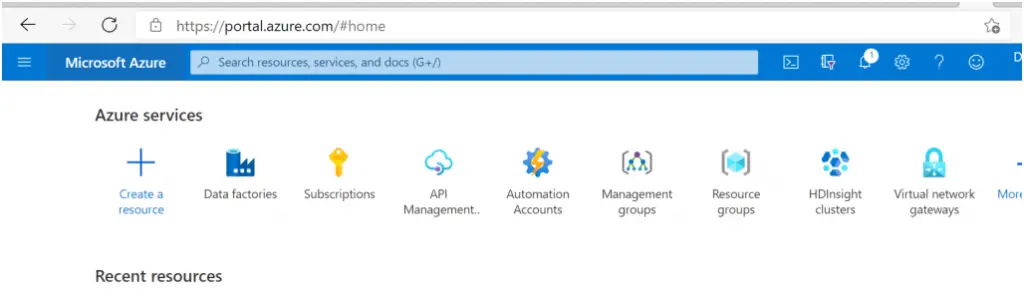
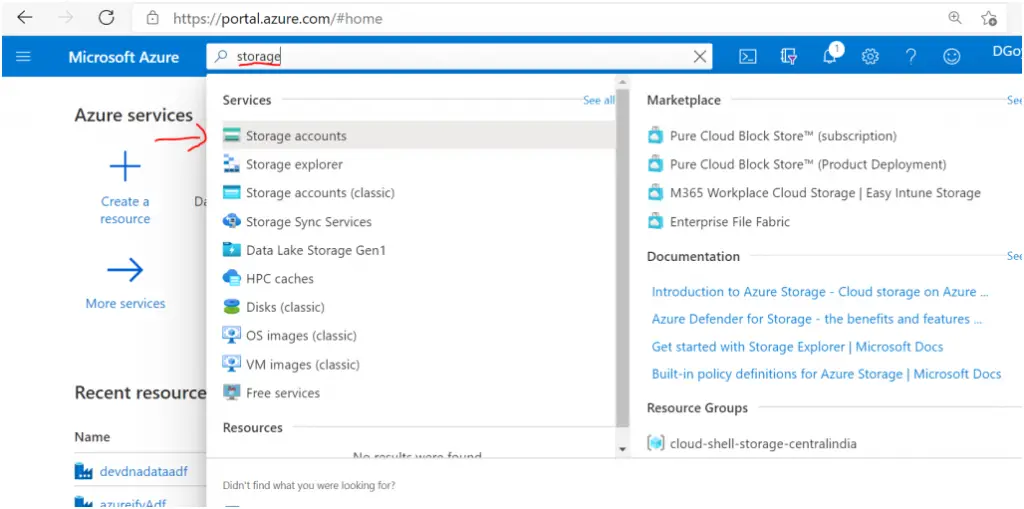
In the search box type storage account and in the drop down you can see the storage accounts just click it.
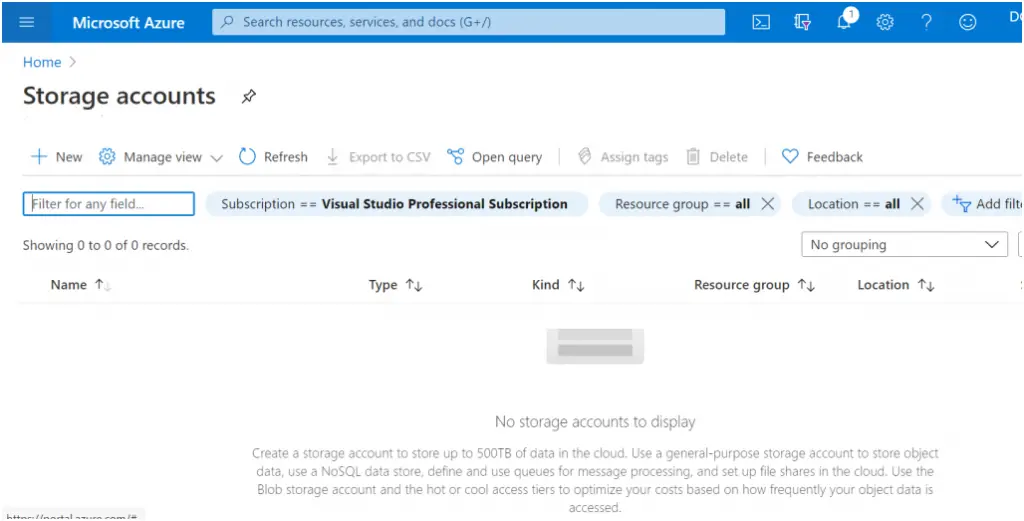
You can see that it is empty for me because there is no storage account available. Now click on the plus sign to create your first azure storage account
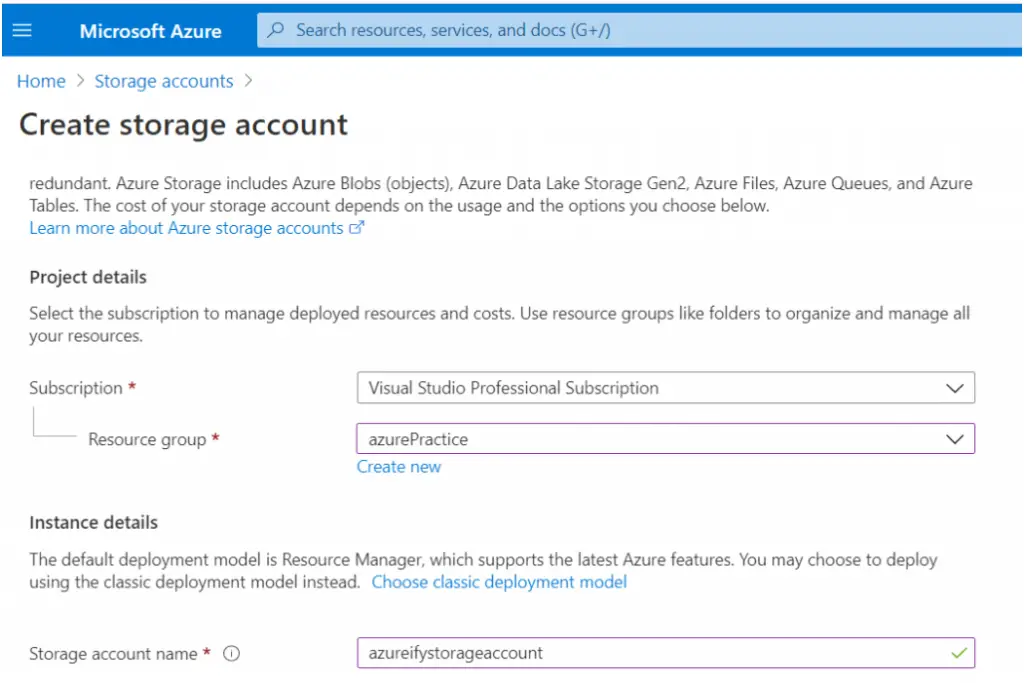
Next select your subscription id and the resource group. If you don’t have any resources available you can click on create new to create the resource group. This newly created storage account will be go inside this selected resource group only.
Enter the storage account name and you need to ensure that this storage account name need to be unique across the globe there is no hyphen and uppercase allowed in the storage account name. Click Next
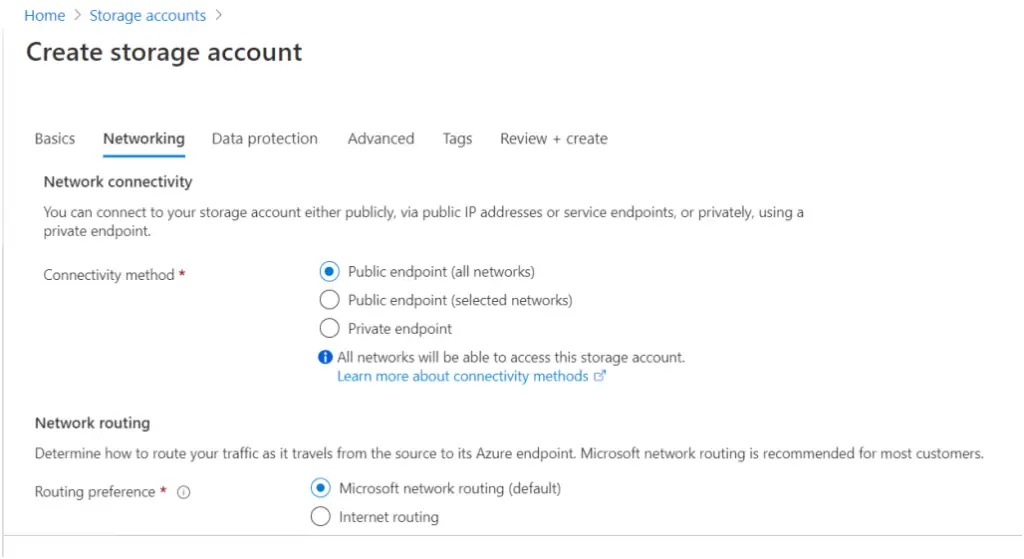
In Networking tab you can select the connectivity method it could be public or private depending upon your requirement . For now we are selecting as a public end point so that we can access from outside. Keep other thing as default and press next.
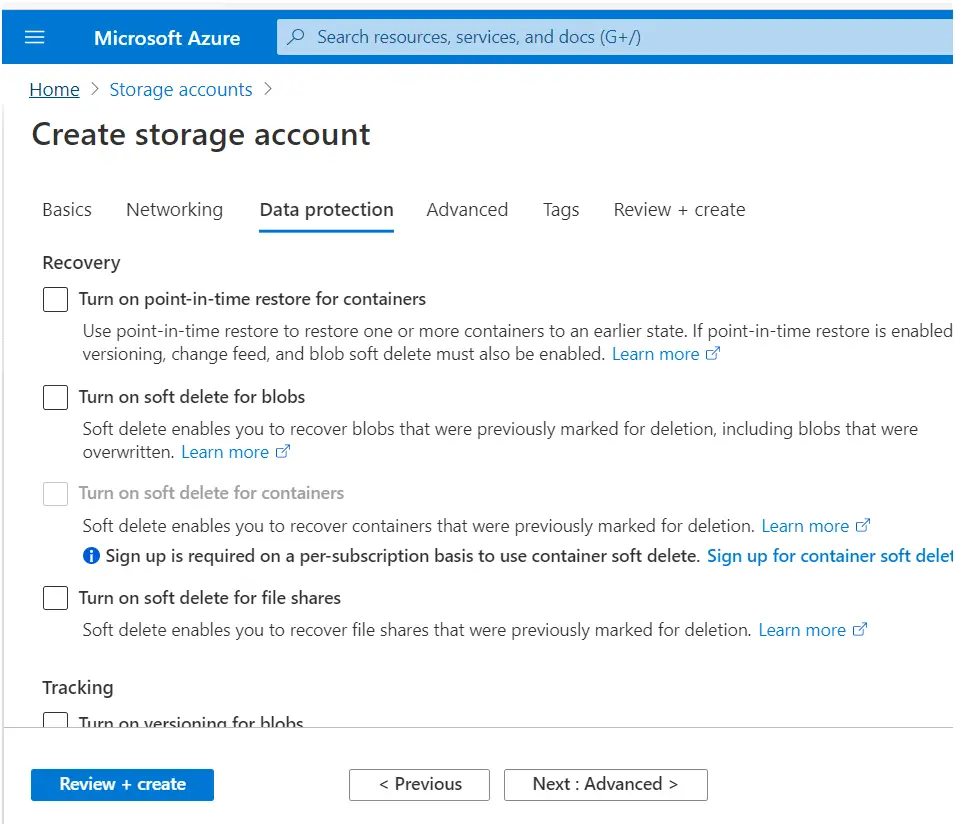
Here keep everything as default. No need to make any changes. I will cover this in advance topic.
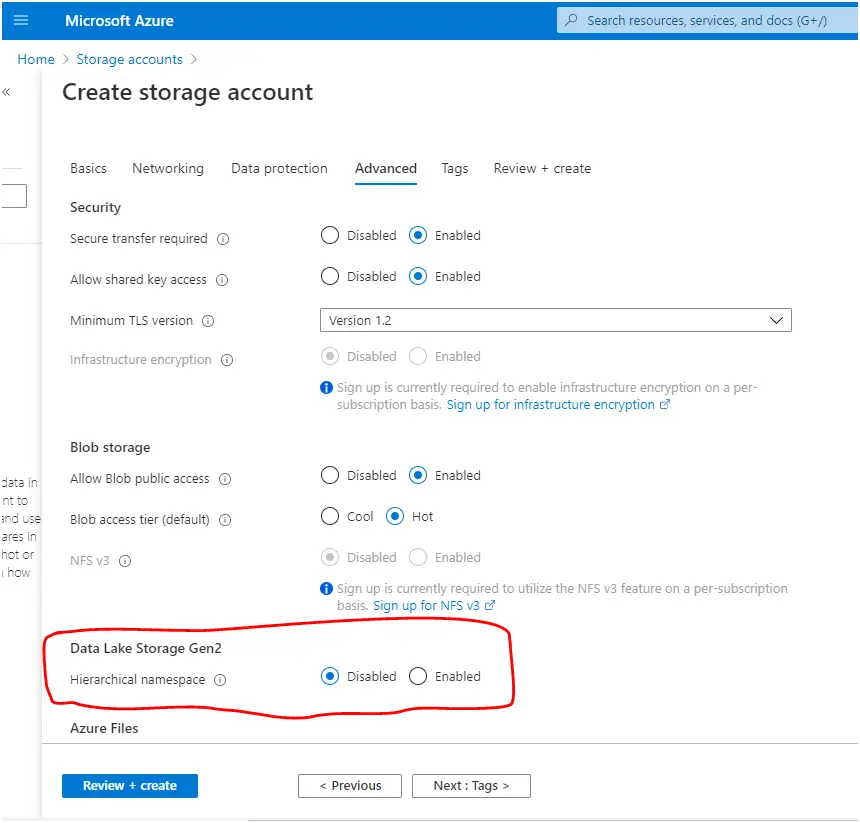
Here also you can keep everything else as default. One of the important selection criteria is Data lake storage Gen 2. By default it is disabled> if you want hierarchical name spaces (like the folder structure we have in our windows or linux file system we can enable it). Click Next
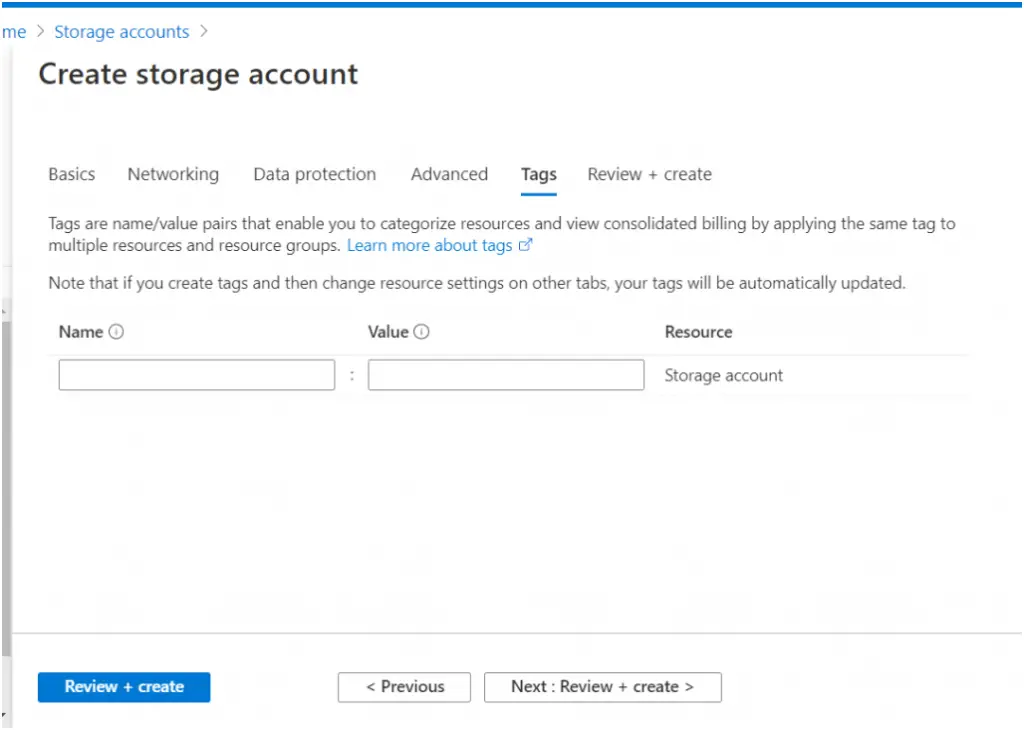
Tags are optional you can move forward.
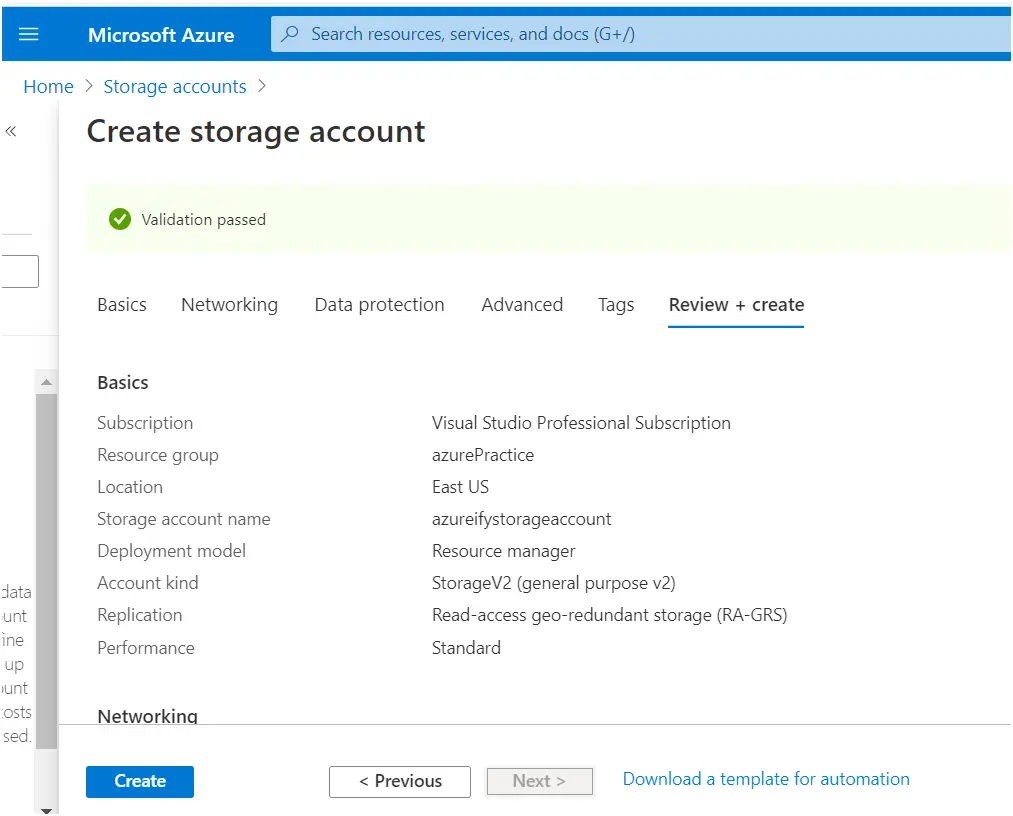
Now you reached to end here just review all the options and names you have entered and if al looks ok just click create.
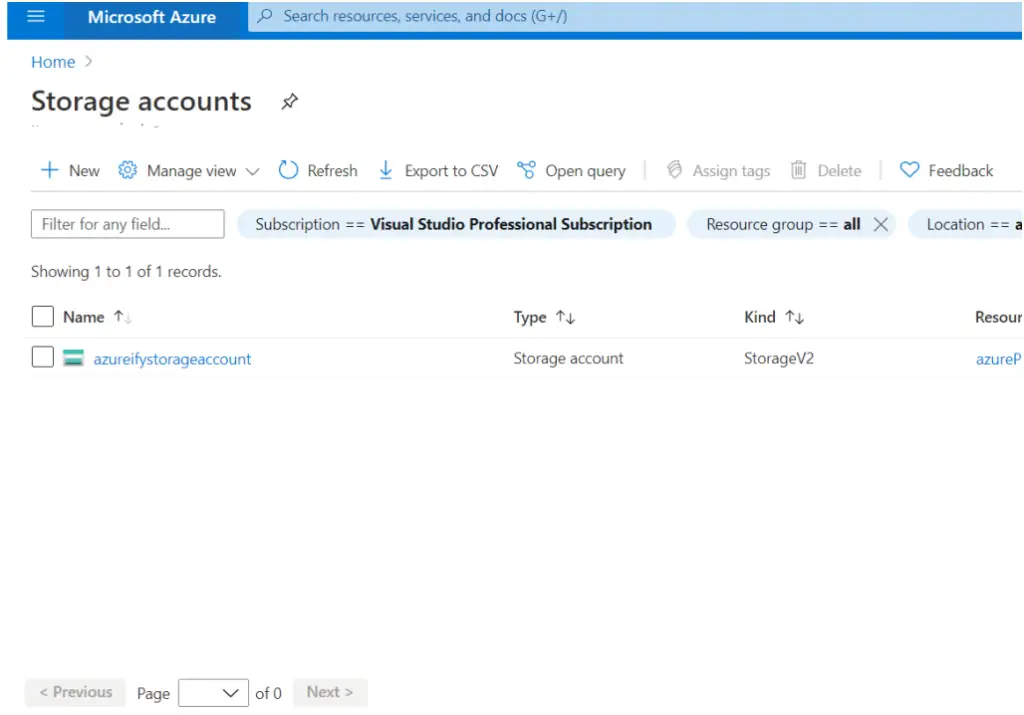
No when you go to the storage account tab you can see the newly storage account created. Let’s click on this newly created storage account
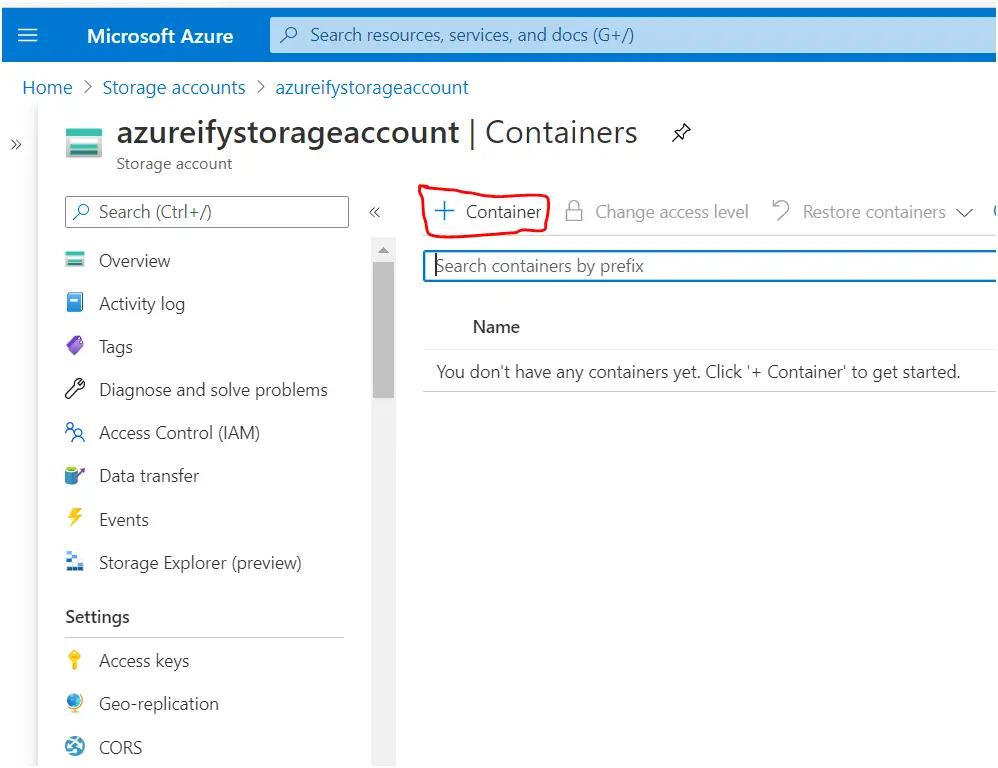
Once you have created the Azure storage account you can now create container, file share, azure tables or azure Queues based on your need.
Lets click container to create the container to store our blob.

Click on + sign to create your first container.
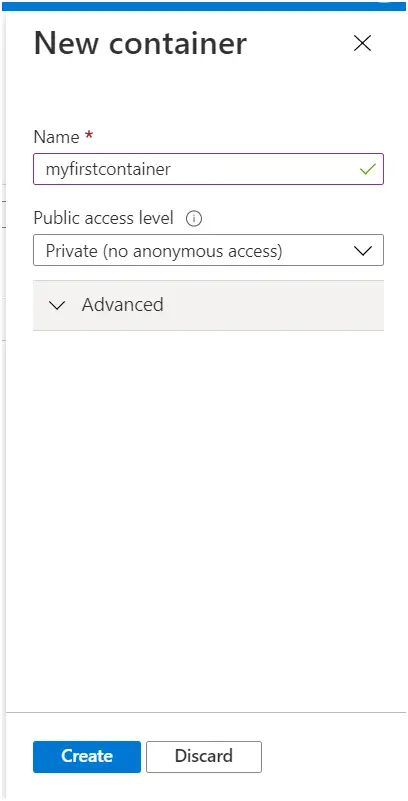
Enter the name of the container. It is unique to your storage account. Select the access level as per your need. Click create.
Name may only contain lowercase letters, numbers, and hyphens, and must begin with a letter or a number. Each hyphen must be preceded and followed by a non-hyphen character. The name must also be between 3 and 63 characters long.
Your container got created successfully.
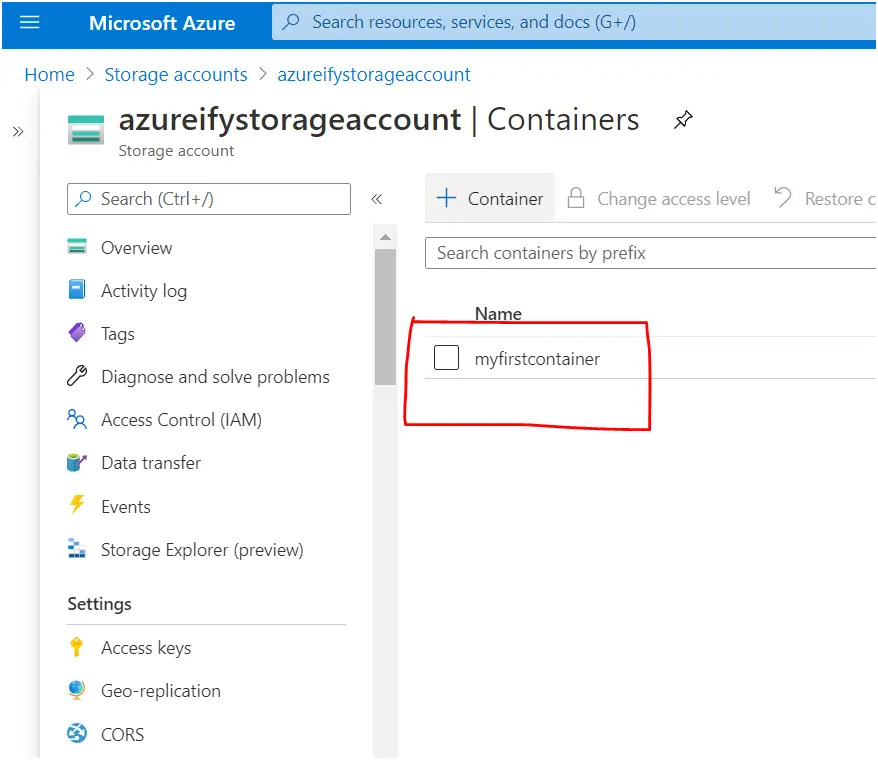
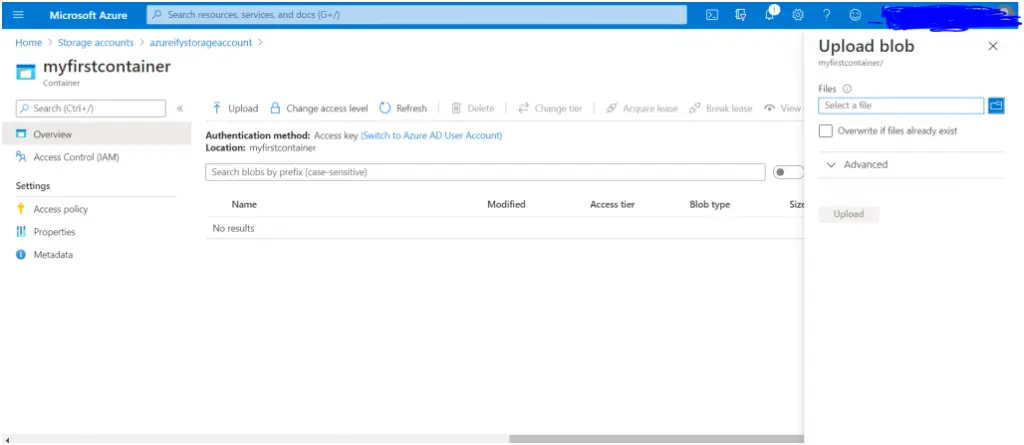
You can click on container and start uploading your files to blob storage.
This was the complete guide to create azure blob storage account and the container with step by step method. You can also automate this using the azure power shell script or ARM template based on the practice followed in your team.
