
Integration runtime is the powerhouse for the execution of any pipeline in the azure data factory. Self hosted integration runtime is one of the prominent choice when you wan to connect to few on premises data sources.
Steps to install self hosted integration runtime in azure data factory is as follows :
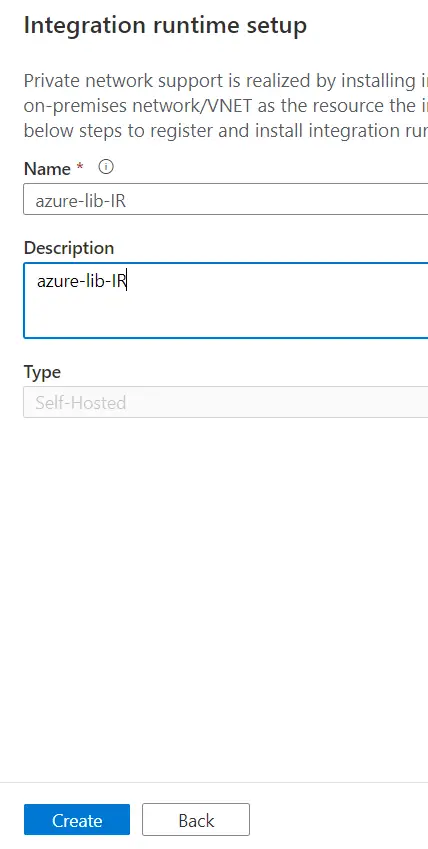
1. Create self hosted integration runtime by simply giving general information like name description.
2. Create Azure VM (If u already have then you can skip this step)
3. Download the integration runtime software on azure virtual machine. and install it.
4. Copy the autogenerated key from step 1 and paste it newly installed integration runtime on azure vm.
Now lets dive into each of these steps and I will take you through each and every detail needed as we go along.
Azure Data Factory Tutorial With Practical
Step 1 : Create self hosted integration runtime by simply giving general information like name description
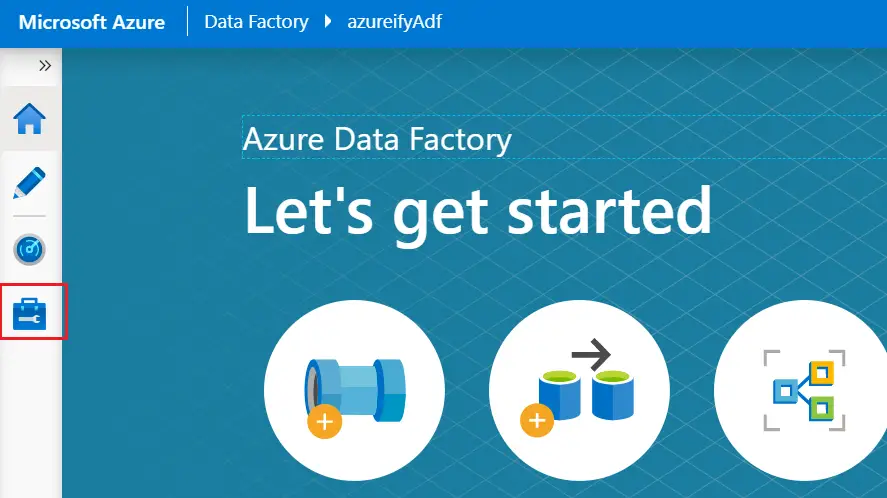
First of all we need to go to the azure data factory and initiate the process of creating the azure integration runtime for there. For this it requires to have contribute access in the adf.
Login to azure portal and go to the azure adf author screen and click on the manage tab (For creating or managing the linked service and integration runtime this is the preferred way) :
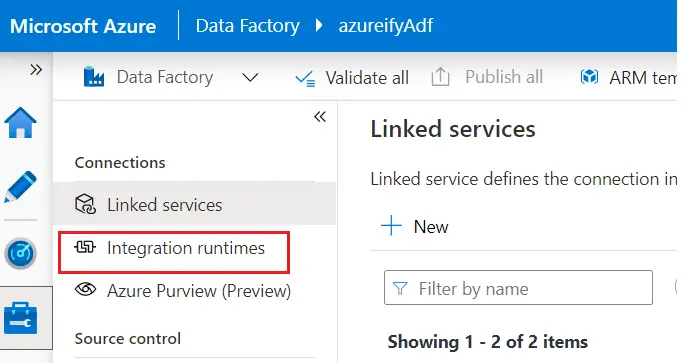
Now in the left hand side pan click on the integration runtime :
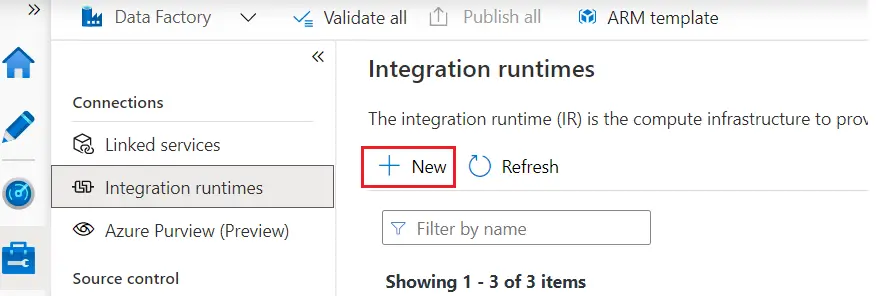
Click on the ‘ + New ‘ to create the new IR :
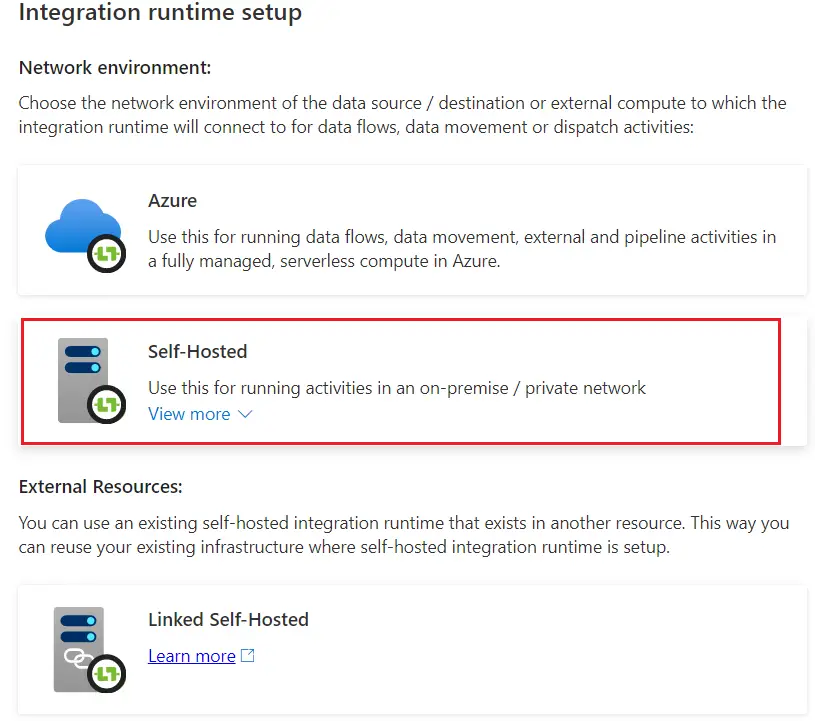
Now there can be two type of IR, here lets choose the first type i.e. Azure, self hosted
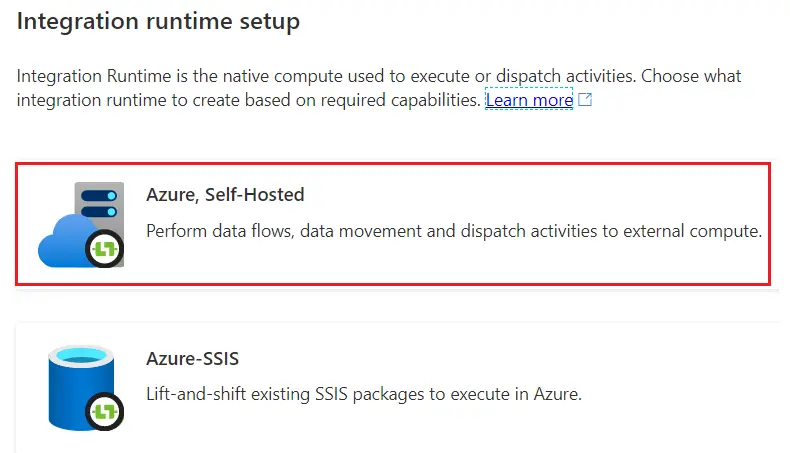
Now inside it there are three different types of IR options available. Azure autoresolve IR, Self hosted and linked self hosted. As we are fresh integration runtime setup hence choose the self hosted (second option) :
We are almost at the last stage of this step. Provide the integration runtime name and give proper description as it may be useful later on for other team members. Click Create.
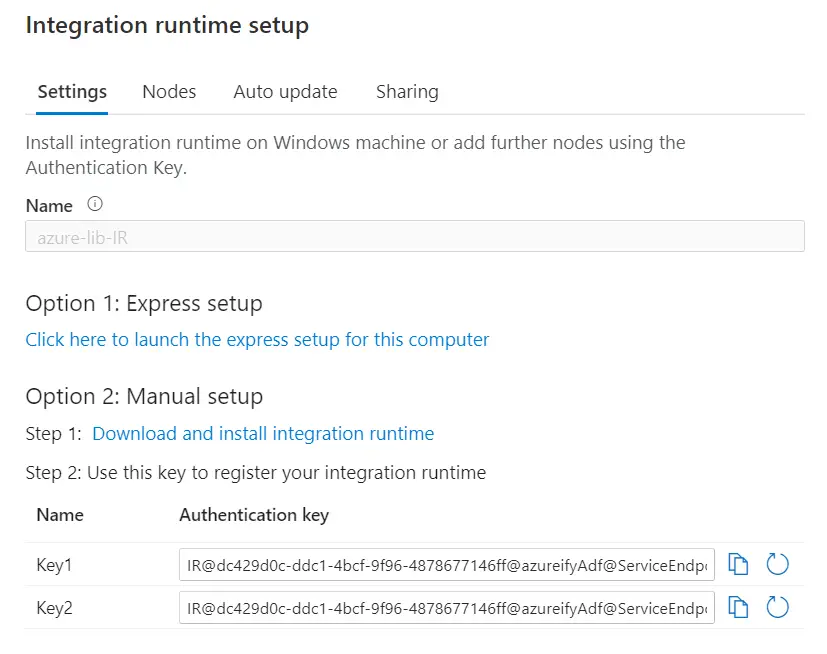
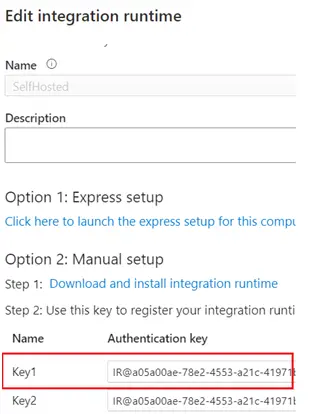
You will see the next screen like this. Here you can see key1 and key2 which would be needed once we installed integration runtime on virtual machine. There is no need to save this key. It will be always available to you.
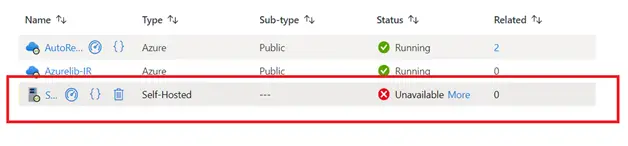
Now in the listing you can se newly created integration runtime, however this will be mentioned as unavailable.

Step 2 : Create Azure VM (If u already have then you can skip this step)
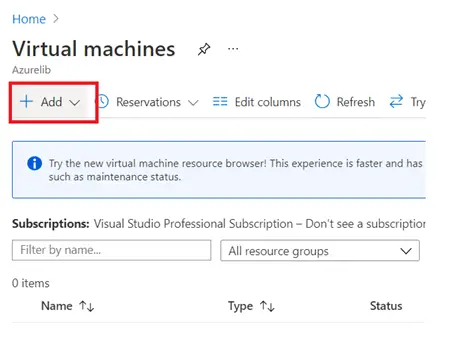
For creating the azure virtual machine login to the azure portal and search virtual machine on search bar.
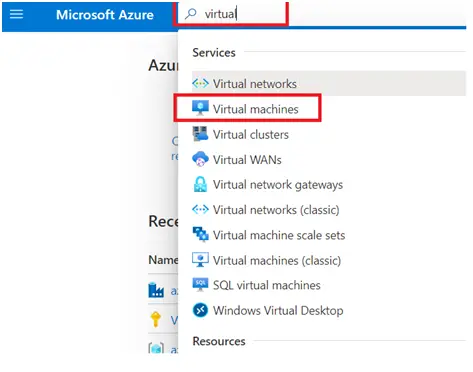
Click on the virtual machines. Now you click on ‘+ Add’ to add new virtual machine.
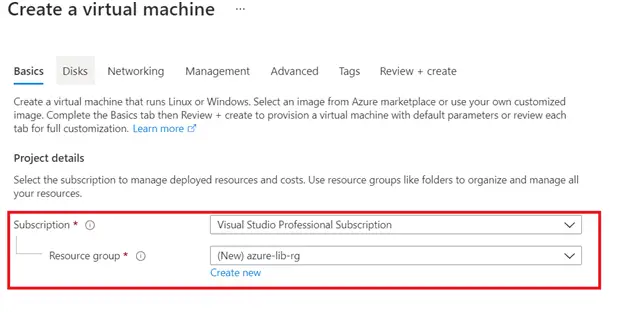
Select your active subscription and the resource group under which you want to create this virtual machine. You can also create the new one well if needed.
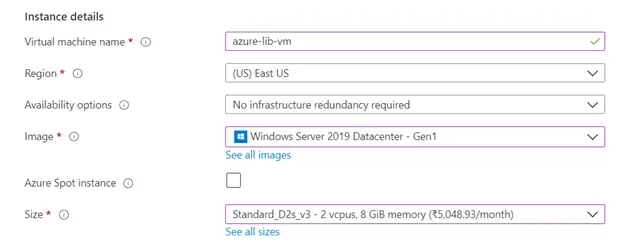
Provide the valid virtual machine name. Region will decide where this machine will be reside. If you are creating this machine dedicatedly for the IR then choose the region which is near to your destination data source if possible. You also need to choose the operating system image which you want to use along with the hardware configuration of the machine.
As per the Microsoft the prerequisite for the integration runtime host is as follows :
Supported Operating System
Windows Server 2019, Windows Server 2016, Windows 10, Windows Server 2012 R2, Windows Server 2012, Windows 8.1
Microsoft Integration Runtime (Self-hosted) requires a 64-bit Operating System with .NET Framework 4.7.2 or above. The recommended configuration for the Integration Runtime (Self-hosted) machine is 2 GHz, 4 Core CPU, 8 GB Memory and 80 GB disk.
I have selected the Microsoft server 2019 datacenter and 2 core cpu with 8 Gigs of RAM as follows :
Lets select the user name and password for connecting to the azure vitrual machine.

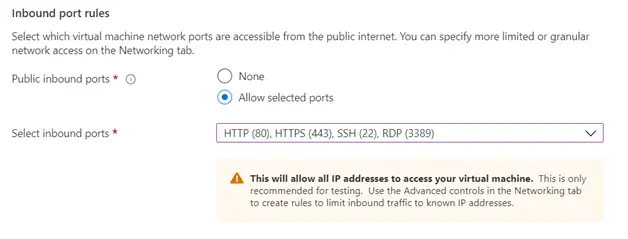
Define the inbound port rules, to make it enable for the connection. I have made the RDP enable to connect the virtual machine using the remote desktop.
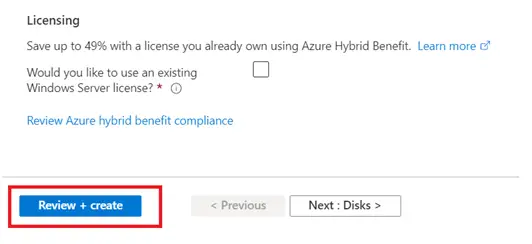
If you have license available you can use it reduce the cost otherwise click review and create.
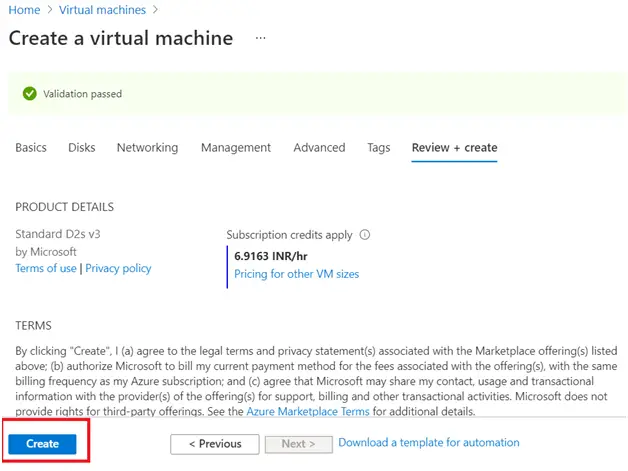
Review page will look like below, if all looks ok then click on the create to finish this step :
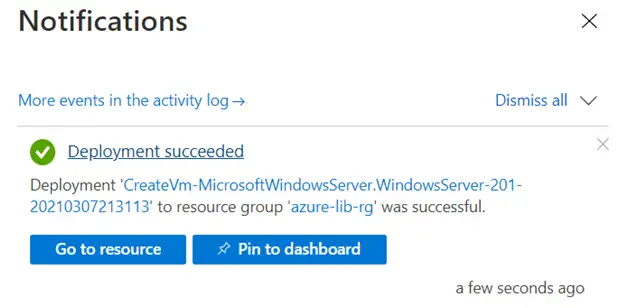
Once it will get created successfully you will get notification like this :
Step 3 :Download the integration runtime software on azure virtual machine and install it
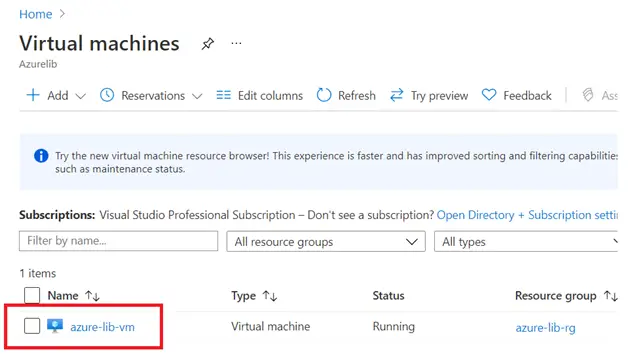
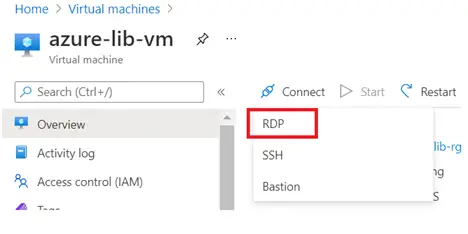
Lets connect to azure virtual machine. For this go to the list of virtual machine and click on the desired one.
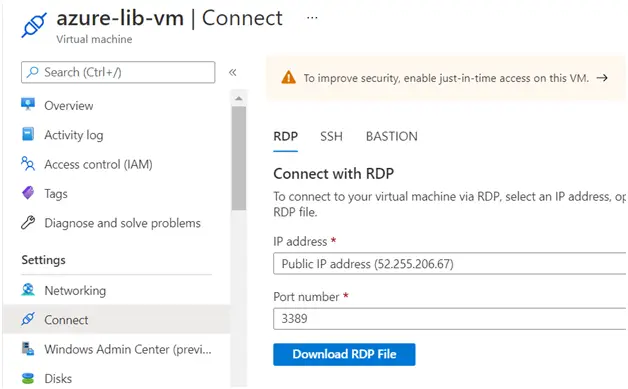
Click on the connect and select the RDP, to connect the vm using the remote desktop method.

It will ask you to download the rdp file
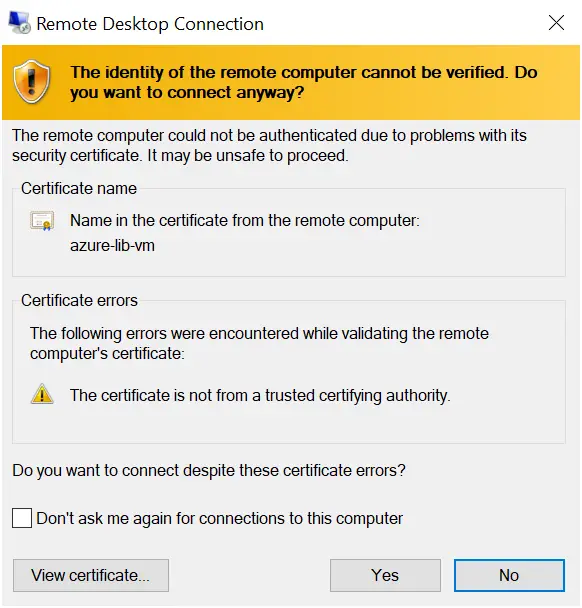
Enter the valid user name and password and login. If you are login for the first name it will ask you as below. Click yes and continue.
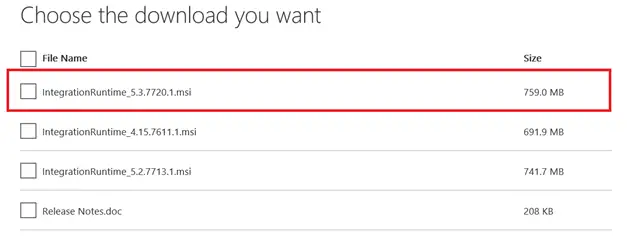
In the virtual machine download the integration runtime software from Download Microsoft Integration Runtime from Official Microsoft Download Center. You can pick up the latest one.
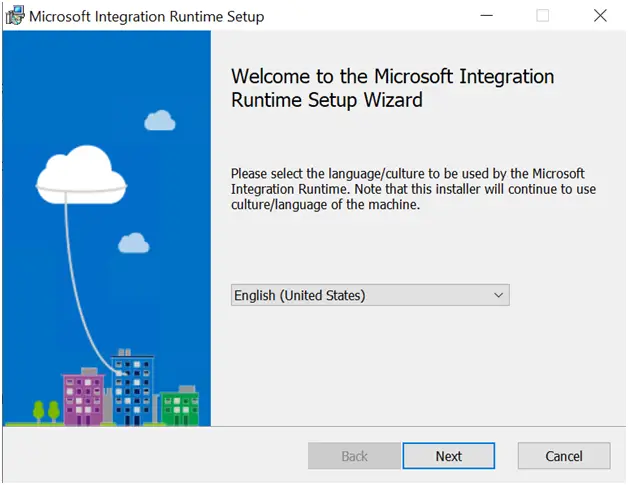
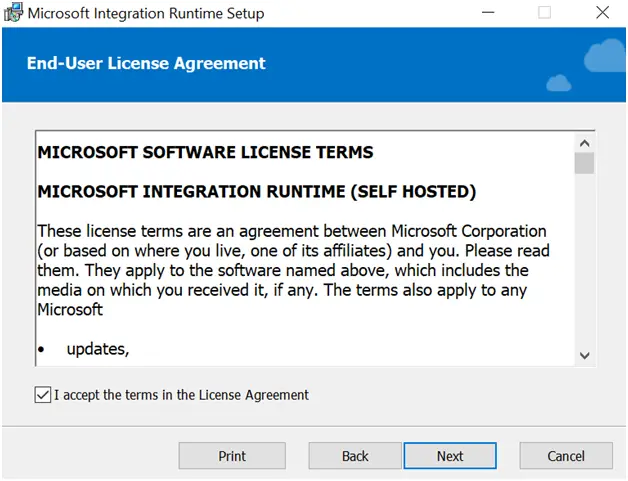
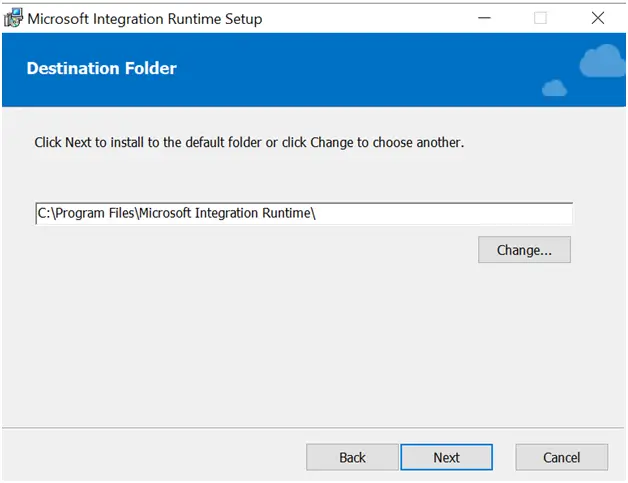
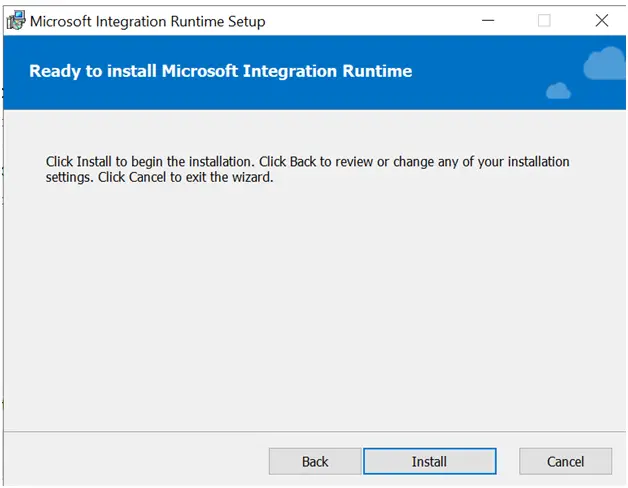
Once it downloaded, lets install it

Using the default settings:

Step 4 : Copy the autogenerated key from step 1 and paste it newly installed integration runtime on azure vm.
Go to adf manage tab and open the integration runtime list and open up the self hosted IR which we created in step 1:
Here you will see the key as below copy this key. :
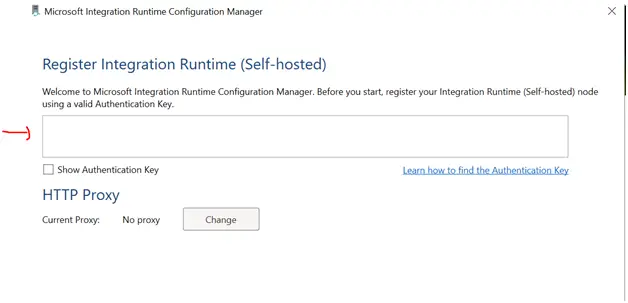
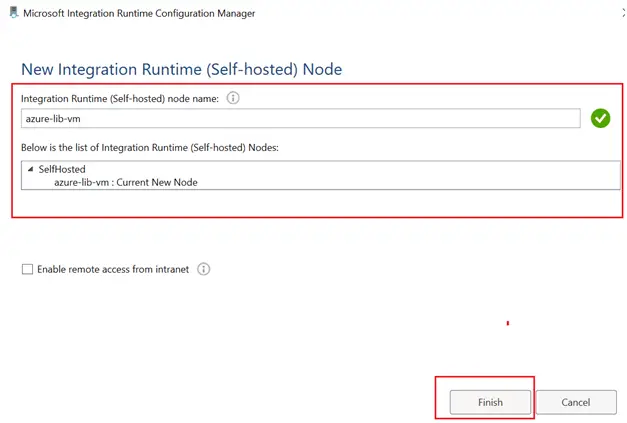
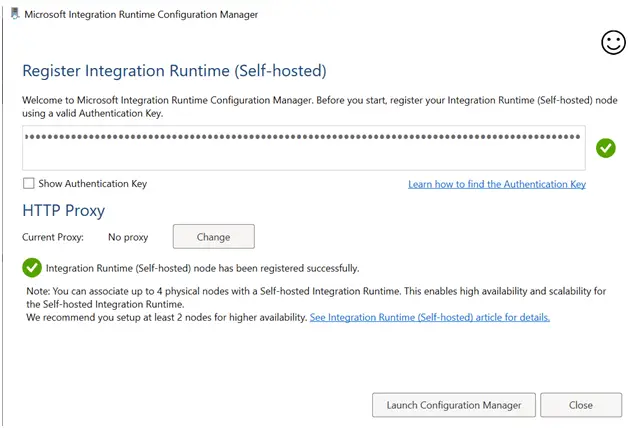
Open the recently installed integration runtime configuration. It will ask to register using the authentication below. Here paste the copied key from IR.
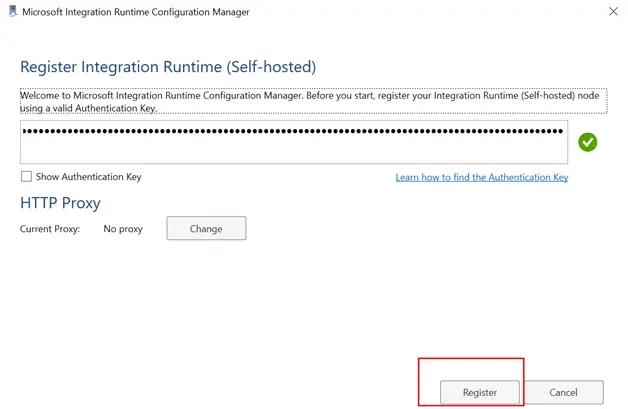
If your key is right it will show green right mark and register button would be enabled. Just click the register to complete the process.
You will see this message in azure VM
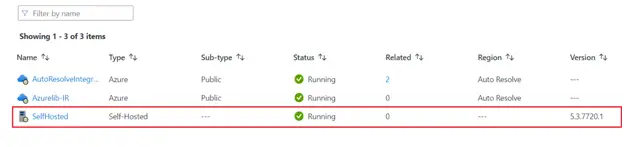
Now if you go back to adf and see IR it will become green and running.
Final Thoughts :
This is the exhaustive steps about how to install self-hosted Integration runtime in azure vm. Even though at first place it looks very lengthy steps but most of them are very pretty straightforward and easy to accomplished. Steps would remain the same even if you install it so some on premise server machines.
Hope this article has served its purpose and help you to get the information about installing and troubleshoot self host integration runtime on any virtual machine.
