
In this lesson 3 of our Azure Spark tutorial series I will take you through how you can use your Azure Databricks account portal and notebook. I will also take you through how and where you can access various Azure Databricks functionality needed in your day to day big data analytics processing. In case you haven’t gone through my first Lesson 1 of Azure Databricks tutorial, I would highly recommend going to lesson 1 to understand the Azure Databricks from scratch. For creating your first Azure Databricks free trial account follow this link : Create Azure Databricks Account. Let’s dive into the tutorial now.
- Azure Databricks Lesson 1
- Azure Databricks Lesson 2
- Azure Databricks Lesson 3
- Azure Databricks Lesson 4
- Azure Databricks Lesson 5
- Azure Databricks Lesson 6
- Azure Databricks Lesson 7
Prerequisite
You have one active Databricks account. Incase you don’t follow this Create Azure Databricks
Azure Databricks Portal in Detail
Once you login to the Azure Databricks or your normal Databricks account portal you will see the screen like this:
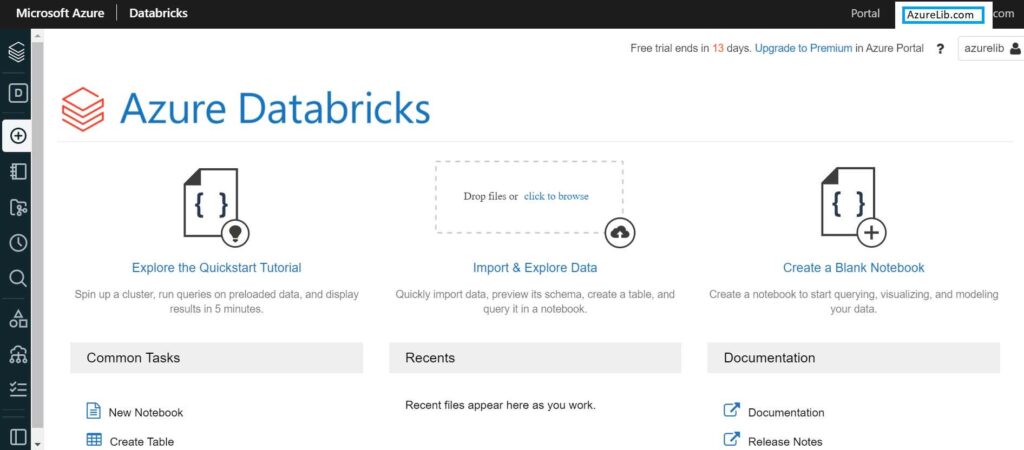
In the left most side of the window you will see the left vertical pane which has multiple tabs. Most of your functionality drives from these tabs. Let’s look at each of them in detail.
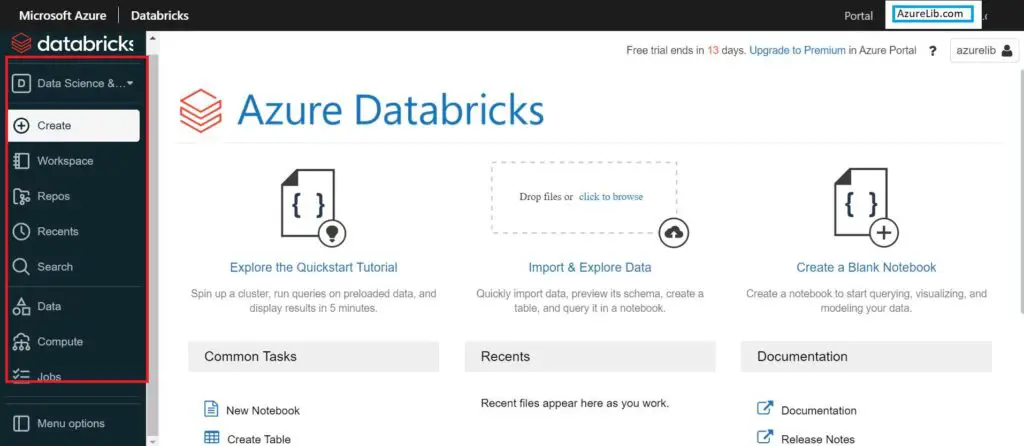
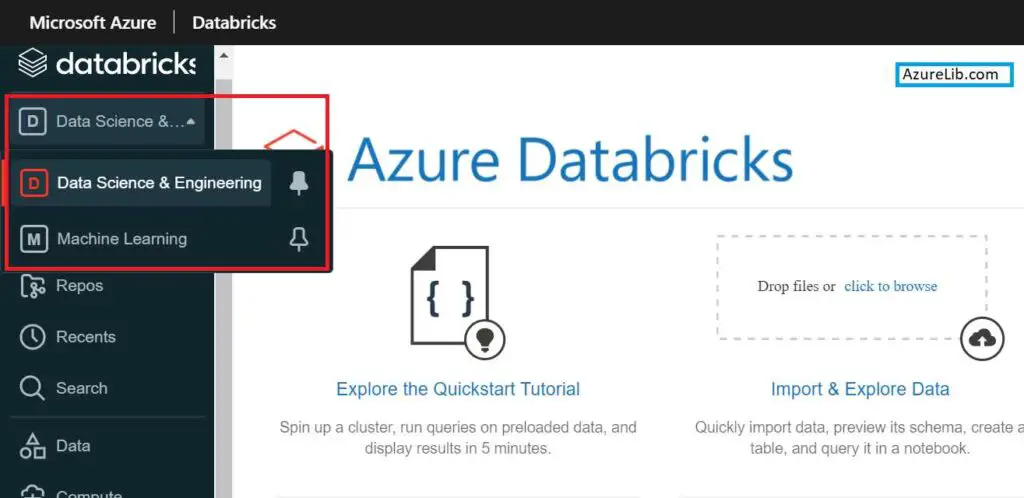
Project Selection Tab: This tab provides the two options one is for data engineering and other for machine learning. If you are doing some data engineering like ETL or some transformation choose the data engineering otherwise choose the machine learning one. Based on this selection some other related option gets enabled in subsequent tabs.
Create Tab: Whenever you want to create a notebook, table, cluster or job in data engineering you can use this option. Once you select, you will ask for details based on the item which you asked for creation.

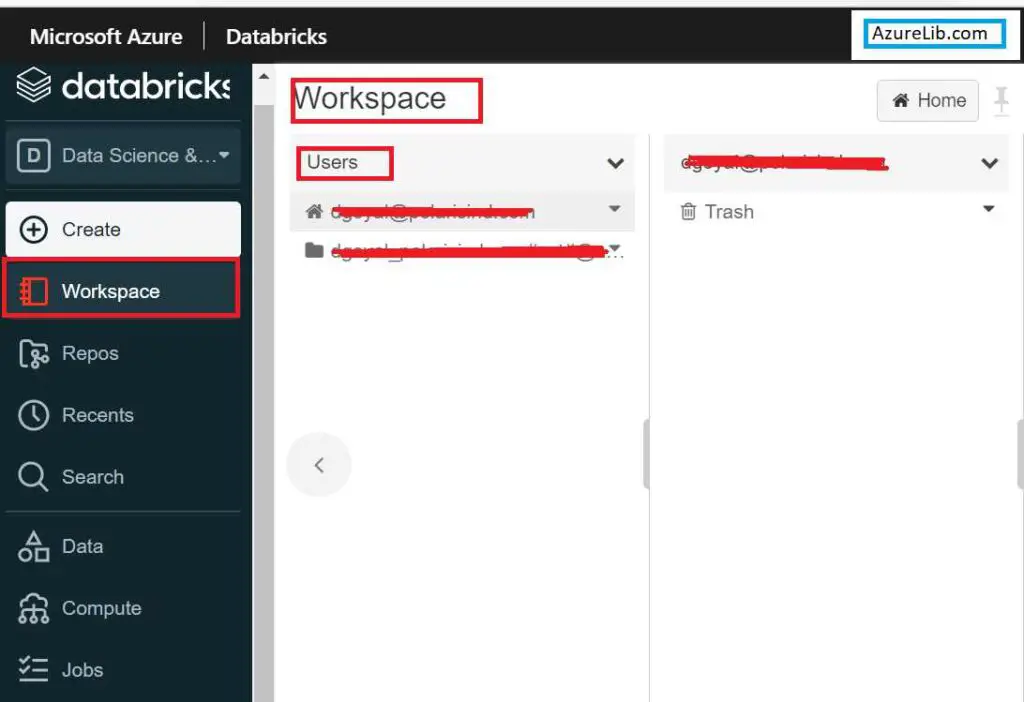
Workspace Tab: This tab allows you to see all the notebooks available under your user. If you have your organization’s Databricks account, you will be able to see all other users who have access to this workspace. You can also share the notebook to other users from here.
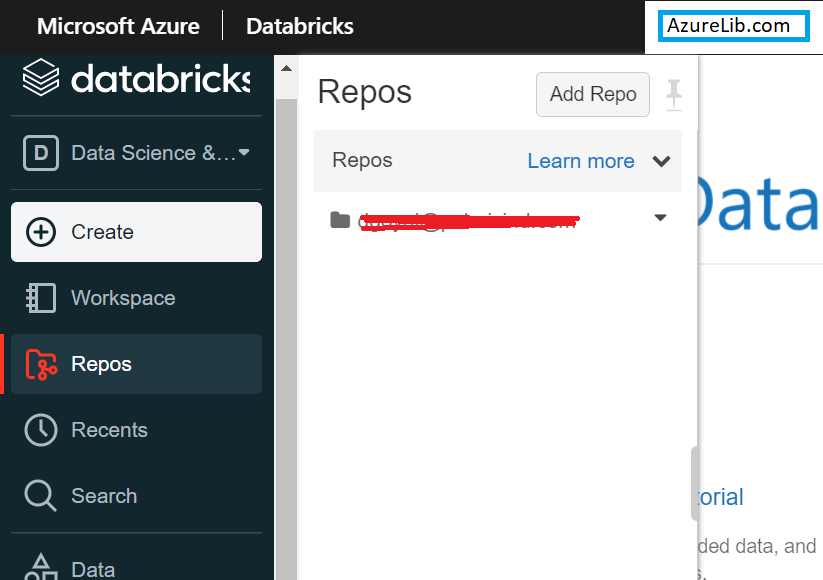
Repos Tab: It is used to add any external repos you want to add. For example if you want to import any other github or bitbucket repo in your workspace you can use this feature. This feature will allow you import multiple external repository systems.
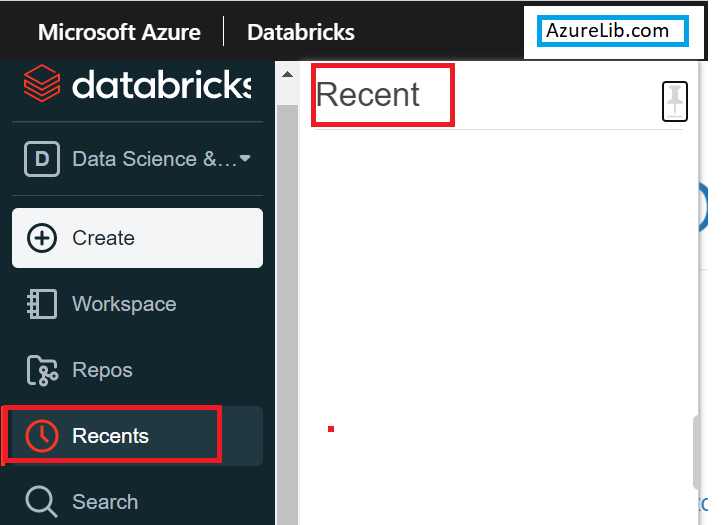
Recent Tab: It displays all the recent notebooks that you have accessed recently. It is a quick way to switch back to recent notebooks.
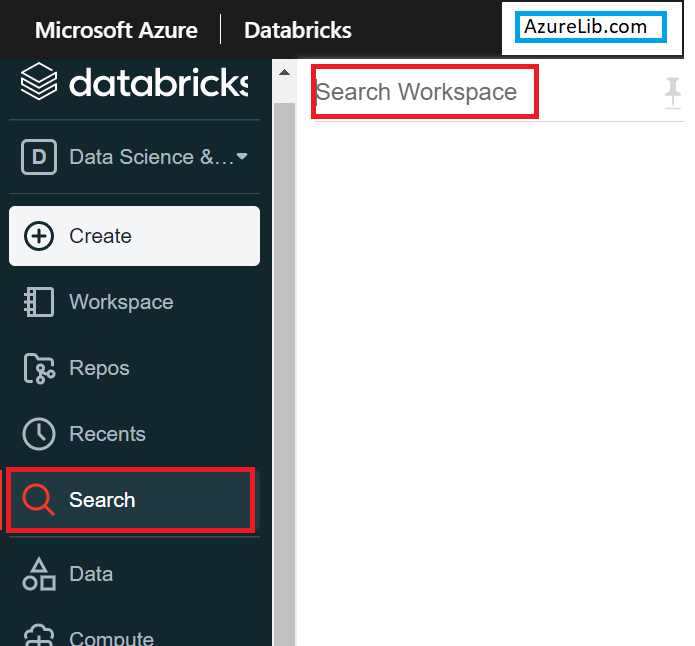
Search Tab: Using the search tab you can search any item within the workspace.
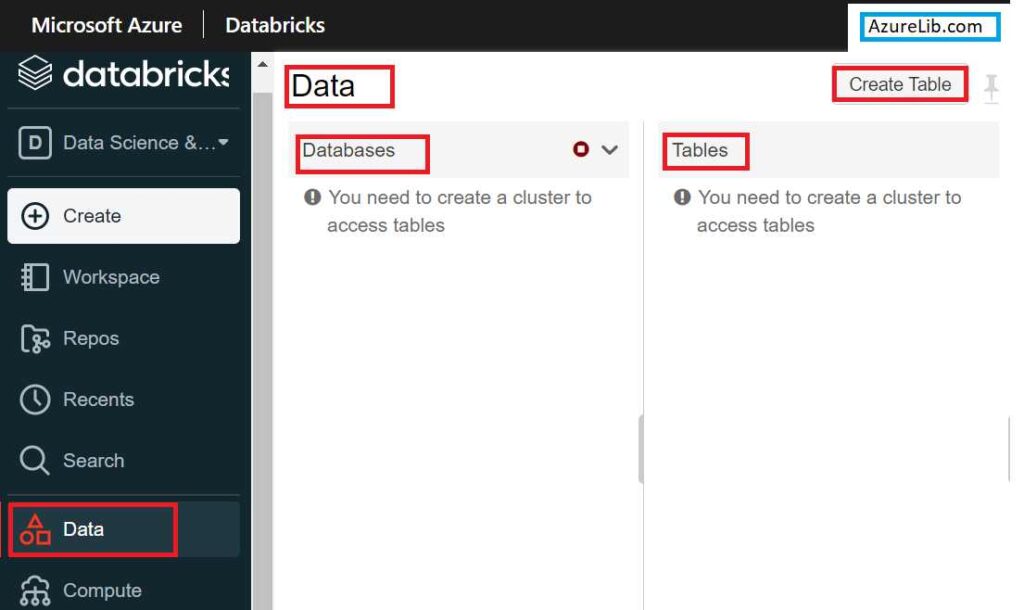
Data Tab: From this tab you can explore the Databricks database and table. You can also create the table from this table. However for accessing the database and table we must need to have a cluster running. I will take you through all the concepts of cluster, Databricks table, notebook in subsequent lessons.
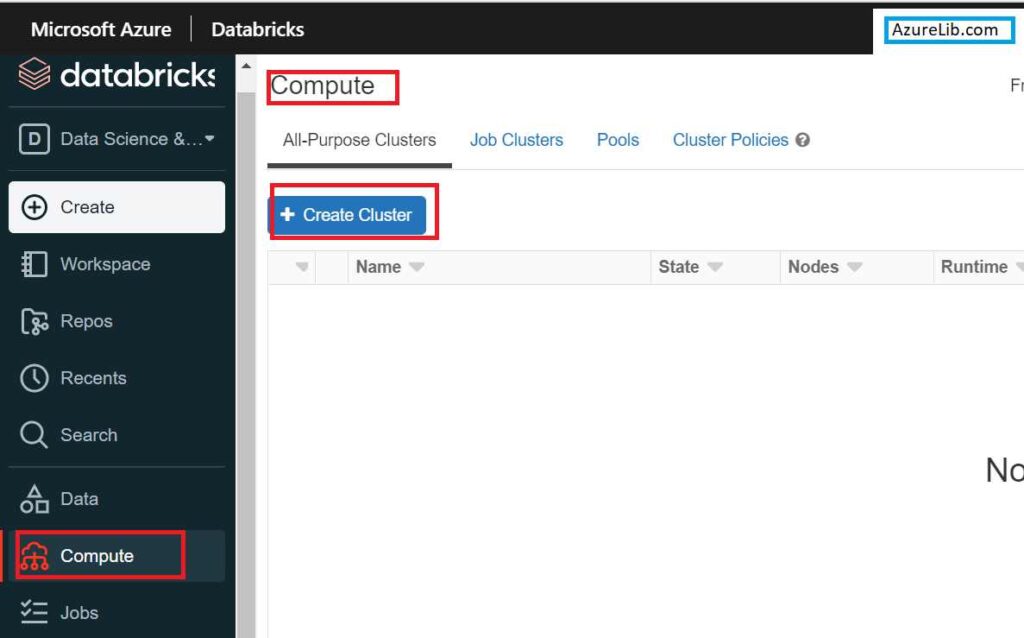
Compute Tab: It is used to create, manage, monitor and delete the cluster. Cluster is the heart of the Databricks. Cluster is nothing but a collection of machines (called as a node) connected via a network.
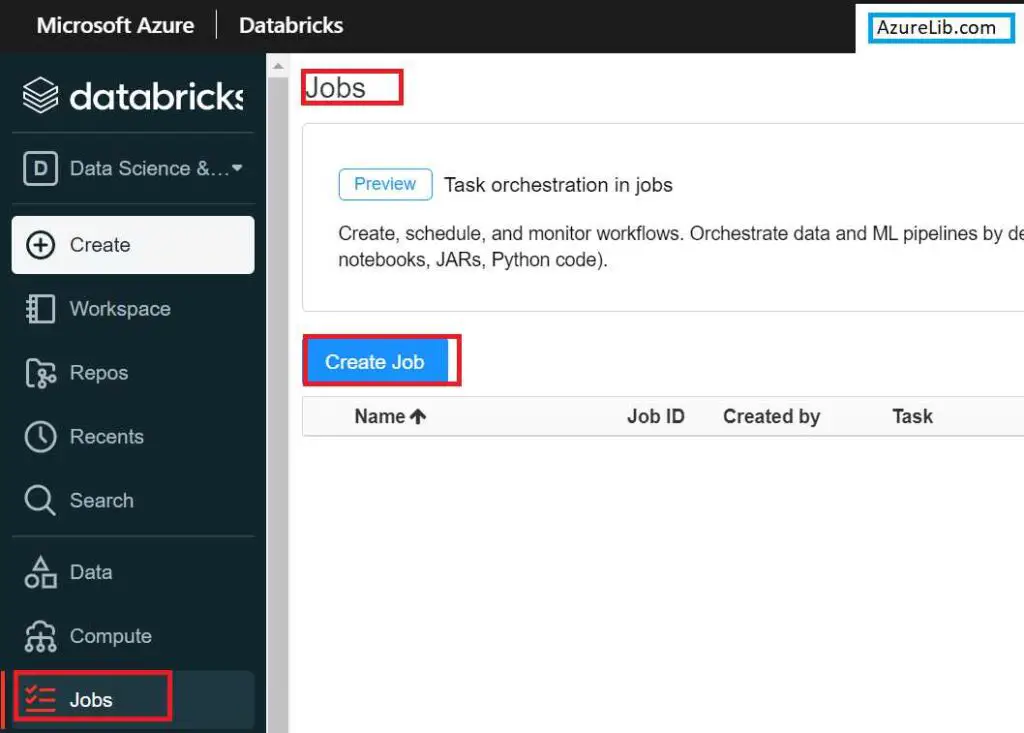
Job Tab: When you have some analytics workload which you run as a job, you can create, manage, monitor and delete from this tab.
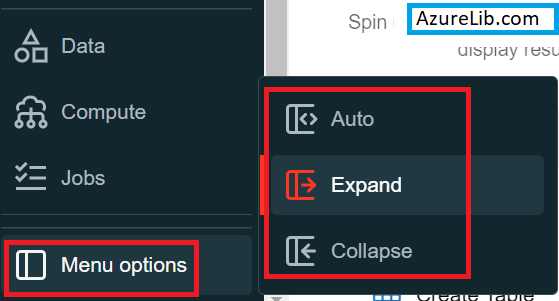
Menu Option Tab: Here you can select how you want to see the menu options. For example auto or in expanded mode.
Import and Export Tab : This tab is used to upload the data files using the portal to Azure Databricks in DBFS (Databricks File System).
How to Create a Notebook in Azure Databricks
For creating the notebook we can either go to the left panel and select the create from there or else we can use the home screen of Azure Databricks there also we get the option to create the notebook under the common task.
Create Databricks Python Notebook
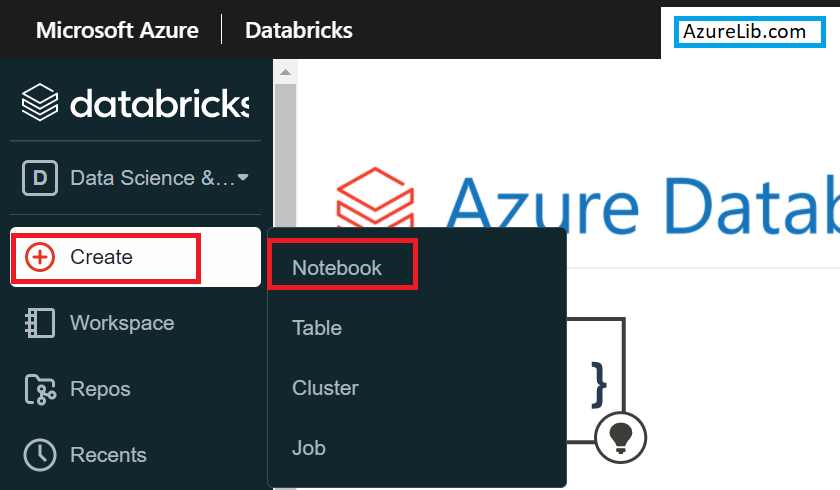
Step 1: Go to the create tab and select the Notebook.
Step 2: Now provide the notebook name and the language in which you wanted to create the notebook. Azure Databricks the notebook in python, Scala, SQL and R. You can choose any one of them. Let’s select python for now. After this it will ask you to select the cluster. It is the cluster on which this notebook will be executed once you run it. It is not mandatory to provide the cluster at the time of notebook creation, we can assign it later.
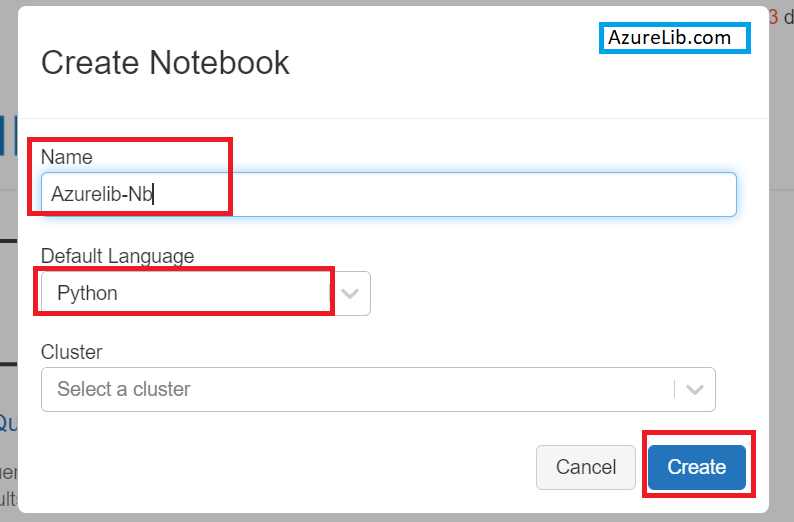
Congratulations we have successfully created the Azure Databricks python Notebook.
Create Databricks Scala Notebook
Step 1: Go to the create tab and select the Notebook.
Step 2: Now provide the notebook name and the language in which you wanted to create the notebook. Let’s select the SCALA for now. After this it will ask you to select the cluster. It is the cluster on which this notebook will be executed once you run it. It is not mandatory to provide the cluster at the time of notebook creation, we can assign it later.
Congratulations we have successfully created the Azure Databricks Scala Notebook.
Create Databricks SQL Notebook
Step 1: Go to the create tab and select the Notebook.
Step 2: Now provide the notebook name and the language in which you wanted to create the notebook. Let’s select SQL for now. After this it will ask you to select the cluster. It is the cluster on which this notebook will be executed once you run it. It is not mandatory to provide the cluster at the time of notebook creation, we can assign it later.
Congratulations we have successfully created the Azure Databricks SQL Notebook.
Create Databricks R Notebook
Step 1: Go to the create tab and select the Notebook.
Step 2: Now provide the notebook name and the language in which you wanted to create the notebook. Let’s select the R for now. After this it will ask you to select the cluster. It is the cluster on which this notebook will be executed once you run it. It is not mandatory to provide the cluster at the time of notebook creation, we can assign it later.
Congratulations we have successfully created the Azure Databricks R Notebook.
Final Thoughts:
We have learned the overview of Azure Databricks portal and Databricks notebook. I have also walked you through purpose of each tab available in Databricks portal. We have also seen how to create the Databricks notebooks in various language like python, scala, R and SQL. Now by doing this you are ready with the initial environment where you can start practicing the spark, pyspark commands and doing some hands-on. In the next lesson we will see the Azure Databricks cluster creation and executing our first Azure Databricks Notebook.
In case you have any doubts or queries please do let me in the inbox below.
